Creating a Scheduling Rule
Creating a Scheduling Rule
This section contains a guide on how to create a scheduling rule.
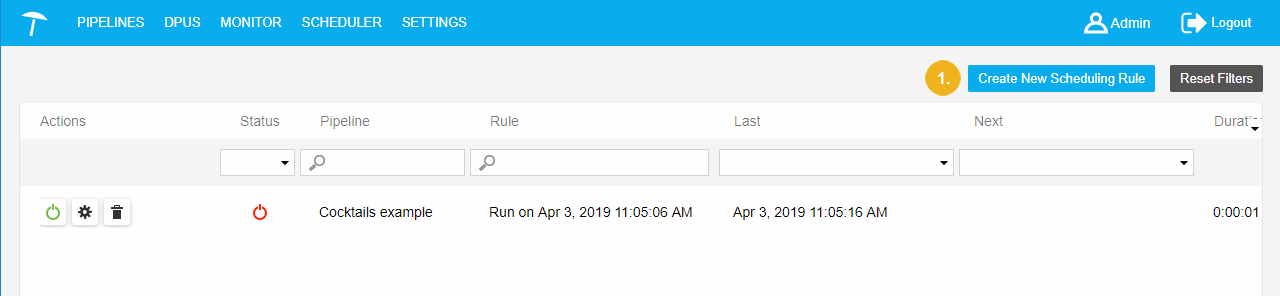
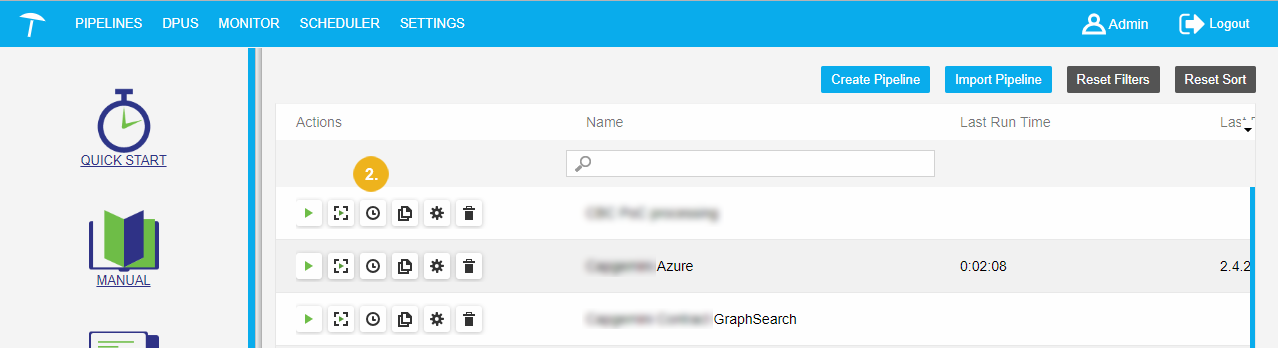
There are two ways to create a scheduling rule in UnifiedViews:
The Schedule Pipeline dialogue is displayed. It contains these options:
Pipeline: drop down (mandatory).
Description (optional): to enter a description for this scheduling rule.
Scheduled for: user name of the user that created the rule.
Schedule the pipeline to run automatically in a fixed interval option.
Schedule the pipeline to run after selected pipelines finish option.
Date and time of the first execution: set to the current date and time.
Interval: execute in a certain interval (default: Every Day).
You can change these options (except Scheduled for) according to your needs.
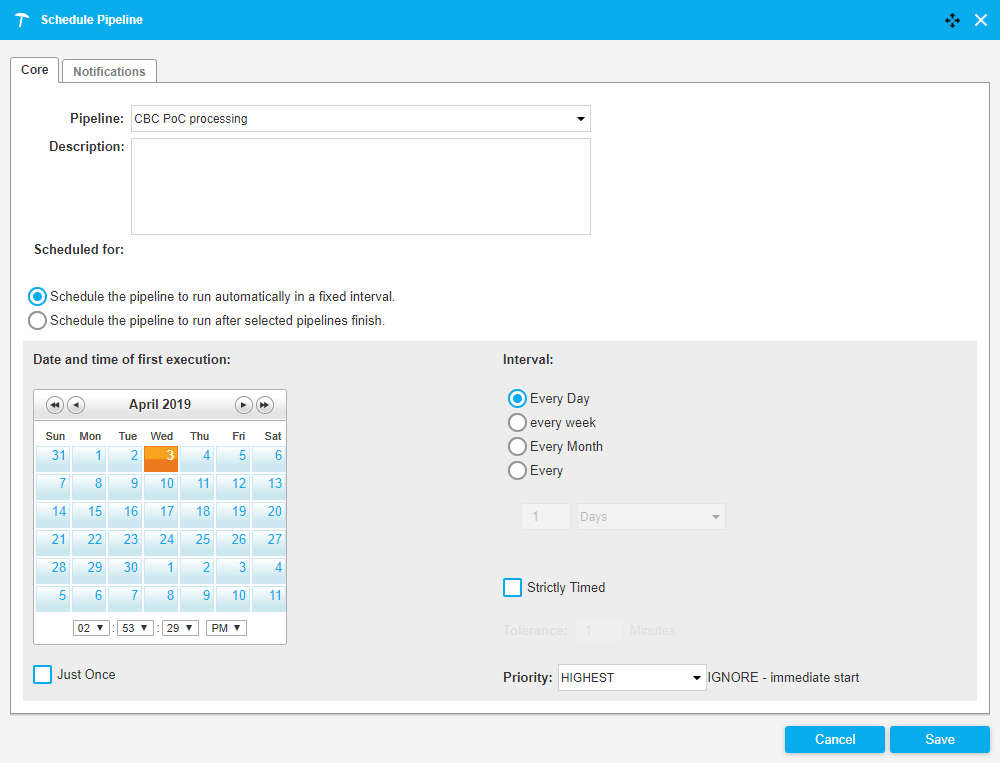 |
The Schedule Pipeline dialogue consists of two tabs:
Core tab: contains components for the description of when the pipeline should be executed
Notifications tab: lets you specify on which kinds of when the pipeline is successfully finished/finished with errors.