Create Custom Classes
Create Custom Classes
To create a new class:
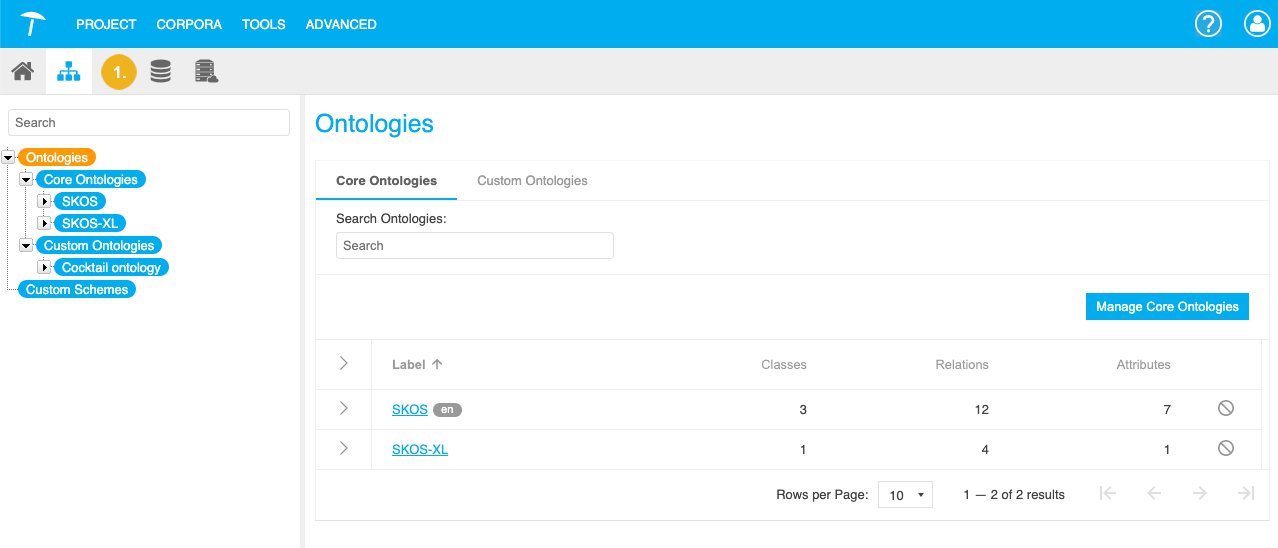
Open the Ontology Management by clicking its icon on the toolbar.
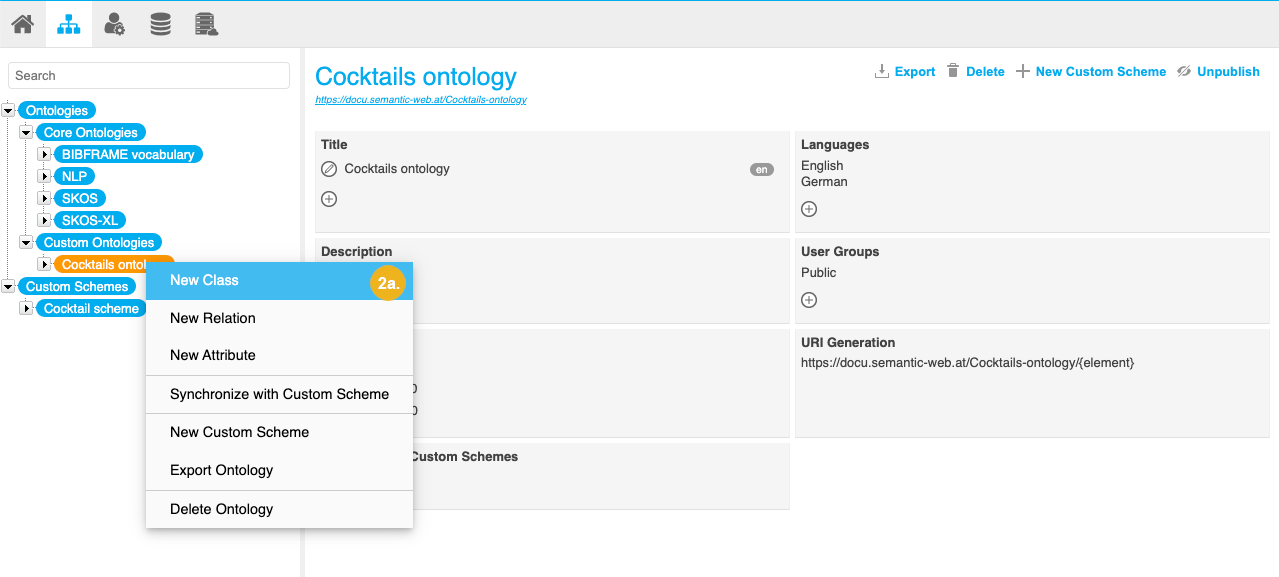
Bring up the New Class dialog with one of the following actions:
Right click the custom ontology to which you want to add a new class in the Hierarchy Tree and select New Class from the context menu.
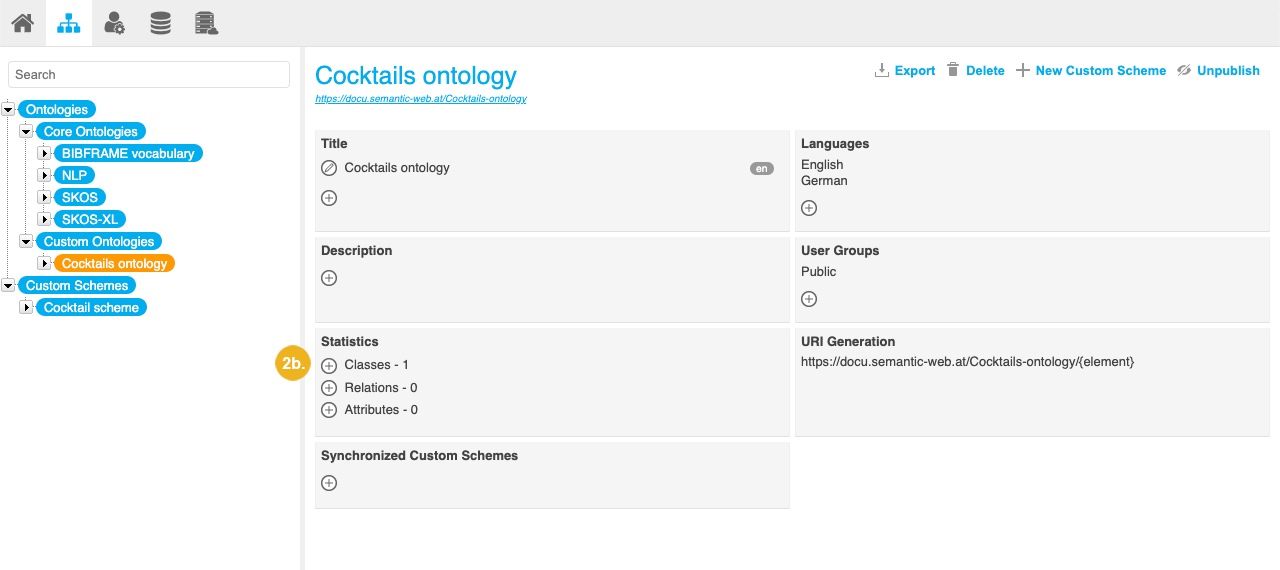
Select the custom ontology to which you want to add a new class in the Hierarchy Tree. On the Details View on the right find the section Statistics. Click the Add icon next to Classes.
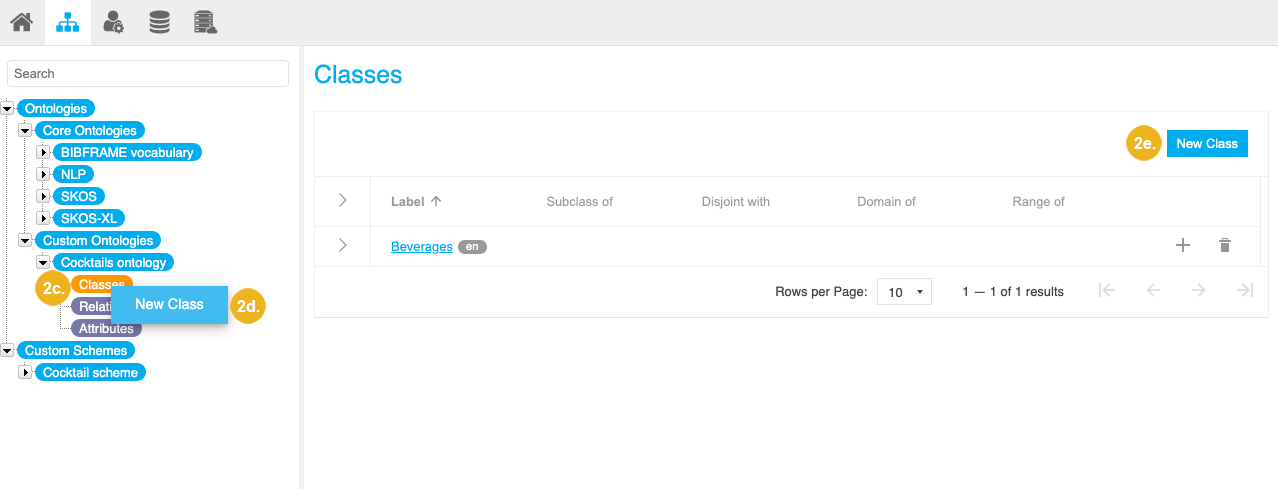
Double click the Classes node below the node representing the custom ontology to which you want to add a new class.
Right click the Classes node below the node representing the custom ontology to which you want to add a new class and select New Class from the context menu.
Select the Classes node below the node representing the custom ontology to which you want to add a new class and click New Class on the Details View.
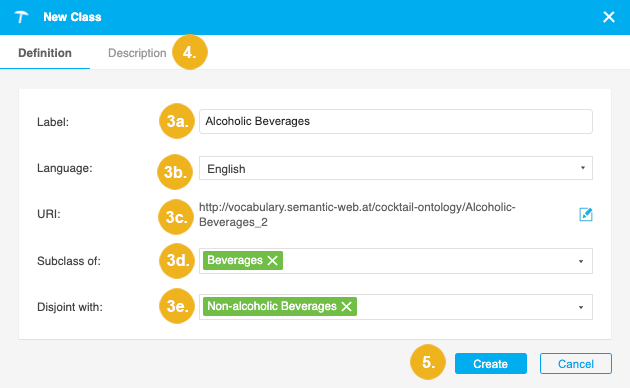
The New Class dialog opens. In the New Class dialog you have the following options:
Label: Enter a name for the class (mandatory).
Available classes from all active predefined and custom ontologies are displayed as you start typing in the Label field via autocomplete. That way you can reuse existing classes.
Language: Select the language of the new class. This list depends on the language settings for the custom ontology.
URI: The URI will be filled with URI pattern defined creating your custom ontology. The pattern is non-editable per default and will be extended by the specified label which will be used without spaces. You can click the pencil icon to make it editable and define a specific URI if needed.
Subclass of: Select this option if a class is a subclass of another class. Select the parent class from the dropdown.
Disjoint with: Select this option if the current class and another class cannot share an instance regardless of how the classes are interpreted.
You have more options on the Description tab where you can add a description for the new class.
Click Create.
 Below, you can see the OWL statements created for a class. As you can see a class is defined as
 owl:Class and rdfs:label is used for the name. The rdfs:subClassOf relation is used to specify the sub-class relation and owl:disjointWith to specify the disjoint classes. Finally, rdfs:comment is used for the description.
<http://doku.poolparty.biz/cocktail-ontology/Syrup> a owl:Class;
  dcterms:created "2019-02-03T12:16:12.662Z"^^xsd:dateTime;
  dcterms:creator <http://resource.semantic-web.at/user/admin>;
  rdfs:label "Syrup"@en;
  rdfs:comment "A condiment that is a thick, viscous liquid consisting primarily of a solution of sugar in water."@en
  rdfs:subClassOf <http://doku.poolparty.biz/cocktail-ontology/Sweeteners>;
  owl:disjointWith <http://doku.poolparty.biz/cocktail-ontology/Souces> .
Tip
If you would like to learn more about this topic, please watch this PoolParty Academy Tutorial video:
2.9 Extending Your Taxonomy With Custom Schemes & Ontologies