Testing Recommender Configuration on the Workbench
This section will give you some insights on how to test any of the Recommender configurations. In our case we will test the previously set up configuration which includes three calls and we will run these tests on the PoolParty Workbench. It will give you a complete walk-through the complete test procedure which also gives you the opportunity to fine tune the saved configuration if required. Furthermore, you will see how to compare documents (i.e. your input and any of the recommended results), as well as how to export and of course import configurations. You will also see the three sample cURL request calls we will run later to obtain recommendations.
After logging in the first page you see is the Workbench start page.
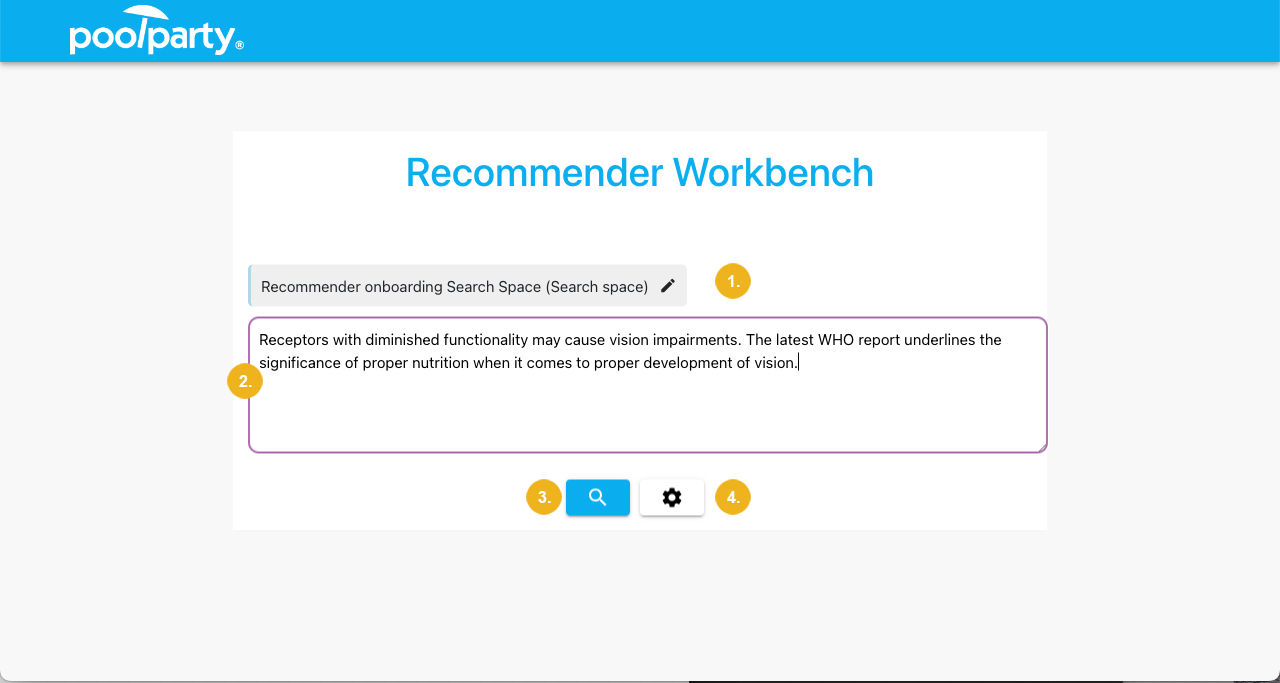
Here you see the search space specified in GraphSearch (1). Clicking on the pencil symbol (1) or on the gear symbol (4) opens the Settings window. Enter your input text in the text field (2). To start the test run click on the magnifying glass symbol (3). In our example the input text is "Receptors with diminished functionality may cause vision impairments. The latest WHO report underlines the significance of proper nutrition when it comes to proper development of vision."
Tip
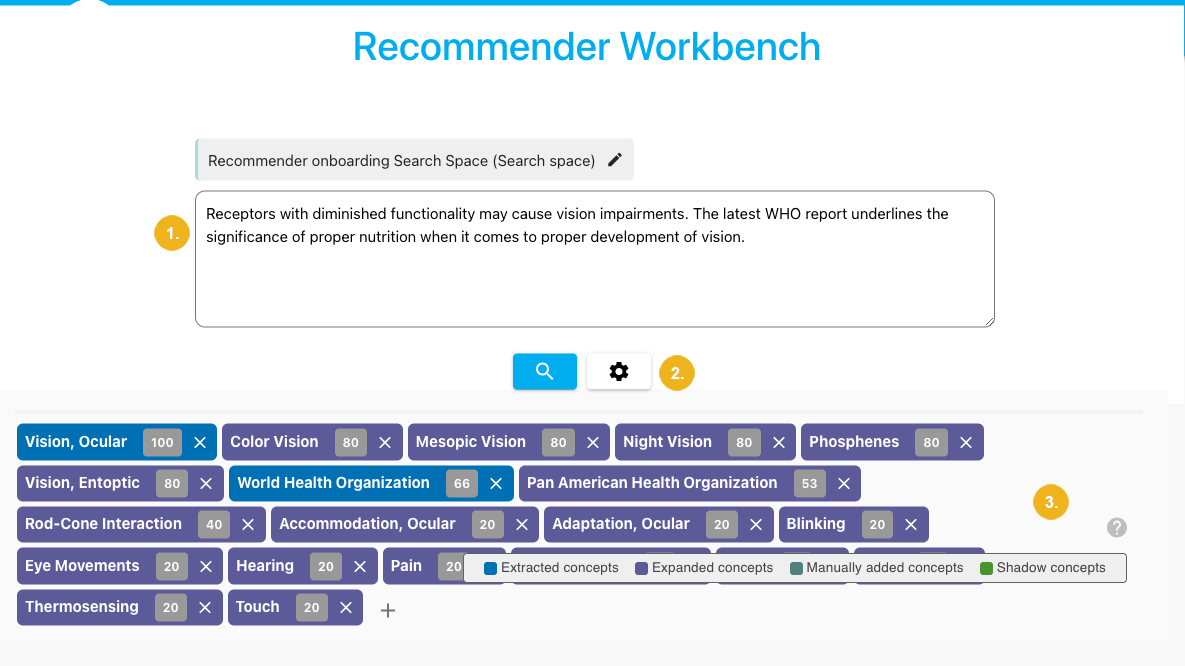
If you however click the gear symbol (4) and adjust your configuration for instance and then click there on the apply button a list of concepts will appear directly underneath the two bottom buttons (3 and 4).
Note
Any retrieved concepts will normally show on the results page, however you can also display those on the start page of the Workbench.
Click on the magnifying glass symbol on the Workbench start page will take you to the results preview window for the selected configuration.
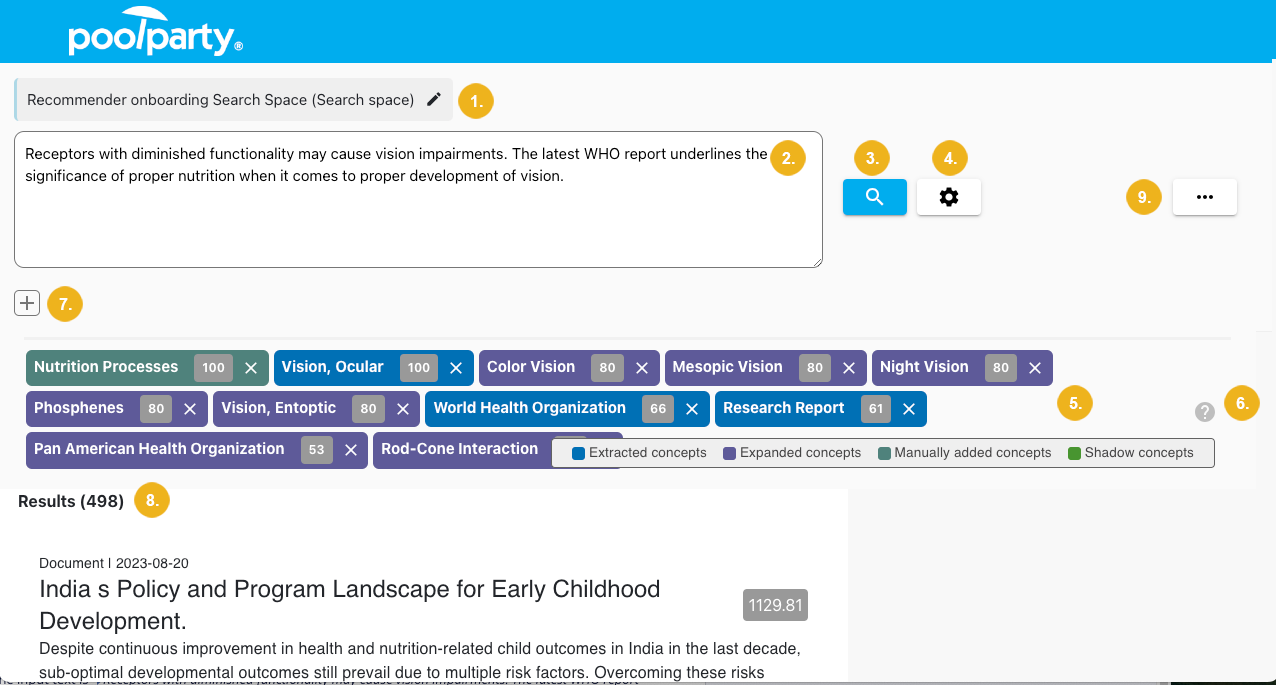
At the top of this window you see the selected search space (1), below the input text (2). If you want to rerun the query, simply click on the magnifying glass symbol (3), respectively use the gear symbol (4) to review and if required modify the configuration. The "+" symbol (7) underneath the input field (2) can be used to add additional inputs. Click on "+" to open a new window where you can add the additional input text. Below the "+" symbol you see one or more rows with concepts annotated in your input text(s) which are color coded (5).
Concept scoring
If the concept scoring was included in your queries, then you will see the score for each displayed concept with a gray background. This scoring also determines the sequence in which the concepts are displayed. Concepts with the highest score are listed first. Each color stands for a different type of concept. To see the corresponding legend move your mouse over the "?" symbol on the very right (6). You can also manually add a concept to this list or remove any of the annotated concepts. The field Results underneath the detected concepts informs you about the number of identified results (8) followed by recommended documents.

Note
Saving the configuration will always save all input texts.
To see the respective details of such document you only need to click on its title. This opens a new window.

Tip
Use the Return to Search results button (1) on the top left of the document details screen to return to the list of all results.
First you see the title of the selected document along with its computed score (2); below a list of concepts (3); the matching concepts are shown in solid color whereas concepts with no match have white background; the corresponding legend is accessible with a mouse-over over the "?" symbol (6) at the end of the concept list. Underneath an excerpt from the selected document is displayed (4). The Document comparison button is to the right of the concept list (5), a click on this button opens a dialog where you can see at glance a comparison between concepts annotated in your input text and in the selected result. In our example there is only one matching concept - and this window looks as follows:
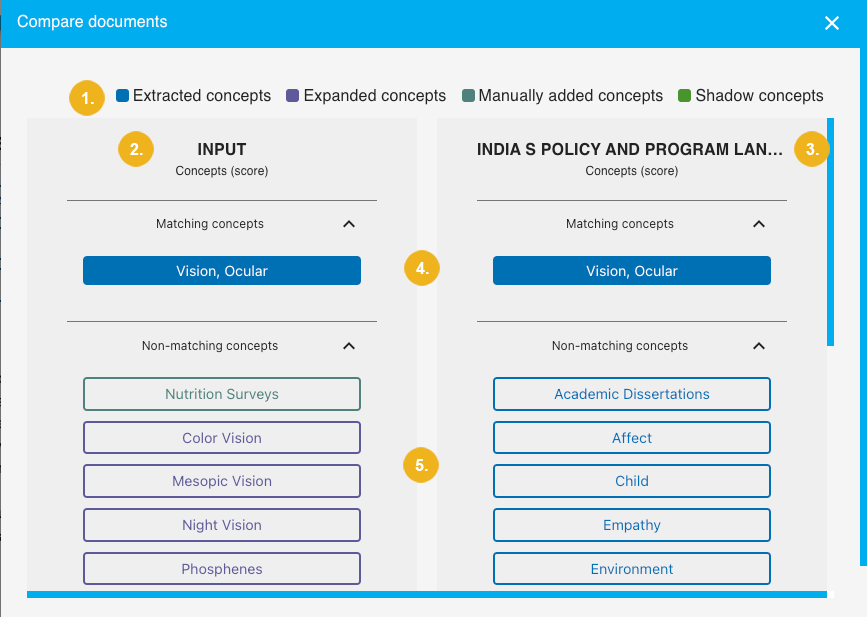
This comparison informs you on all matching and non-matching concepts, along with their type (1) which is color coded. On the left you have the concepts annotated in your input text (2), on the right - concepts existing in the selected recommendation result (3). All matching concepts between these two texts are listed (4) first - in our example there is only one match; below you see a list of concepts with no match (5). Their position on this list is based on their respective individual scoring. This comparison can be helpful when you need to decide whether a particular result is useful for you or not. It also makes it clear why a particular recommendation has been made.
Tip
The longer the list with matching concepts the better the quality of the recommendation result. Also the type of matching concepts provides you with information depending on whether the match involves annotated concepts from the extraction, or from the expansion, or such have been manually added by you, respectively whether such are shadow concepts.
On the results window you have in the upper right section a "..." button (9). Click on this button opens a menu allowing you to import and export the configuration.
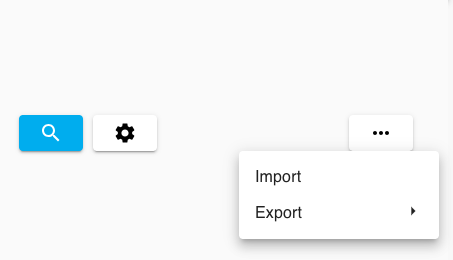
There is an option to import an existing configuration created on another Workbench instance provided it has been saved in JSON format. To import select the Import menu item after having clicked the "..." on the right of the concept list. This opens the following window:
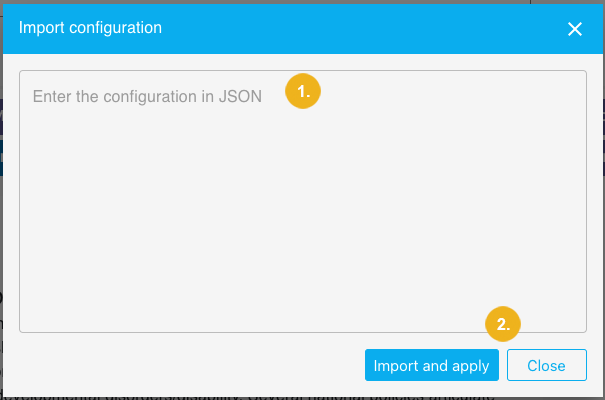
Here you can paste the configuration (1). After pasting the configuration in JSON format confirm with a click on Import and apply (2) then click on Close (2) to close this window.
Note
If you only click on the Close button without confirming with a click on Import and apply you will abort the import operation.
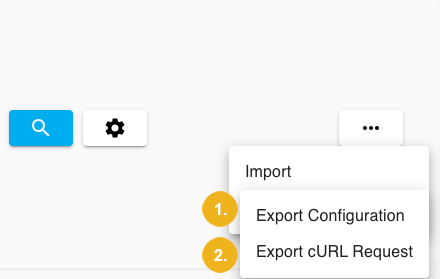
You can Export Configuration as JSON file (1) or Export cURL Request (2). The JSON file can be re-imported on this Workbench or any other PoolParty Workbench. Click the Export Configuration button (1) to open a new dialog.
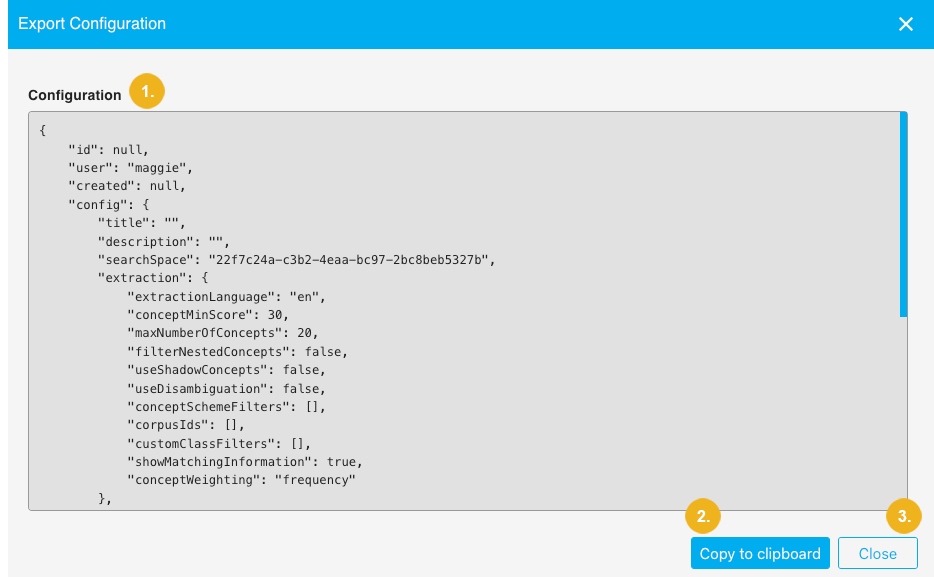
The recommender configuration (1) is shown on this window. The only thing you need to do is to click the Copy to clipboard button (2) to copy it, if you change your mind simply click Close (3). You do not need to select the JSON configuration.
The cURL requests are API endpoint requests and they are separately available for each of the calls, i.e.one for the extract, expand and recommend call.
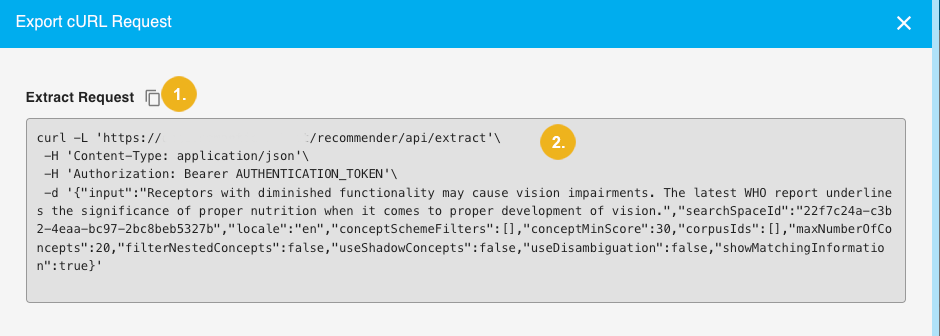
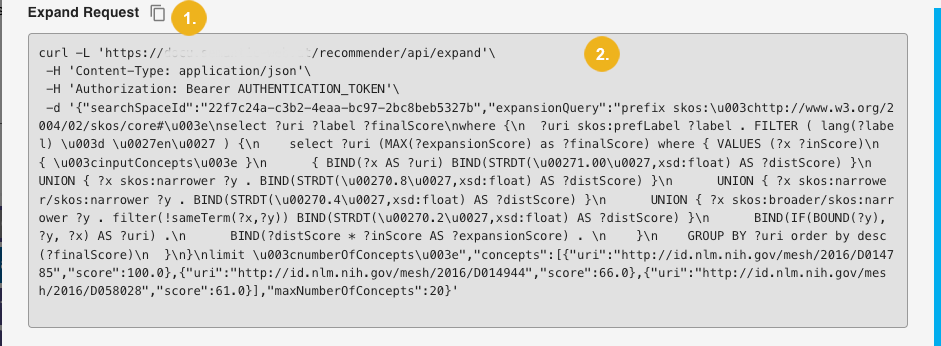
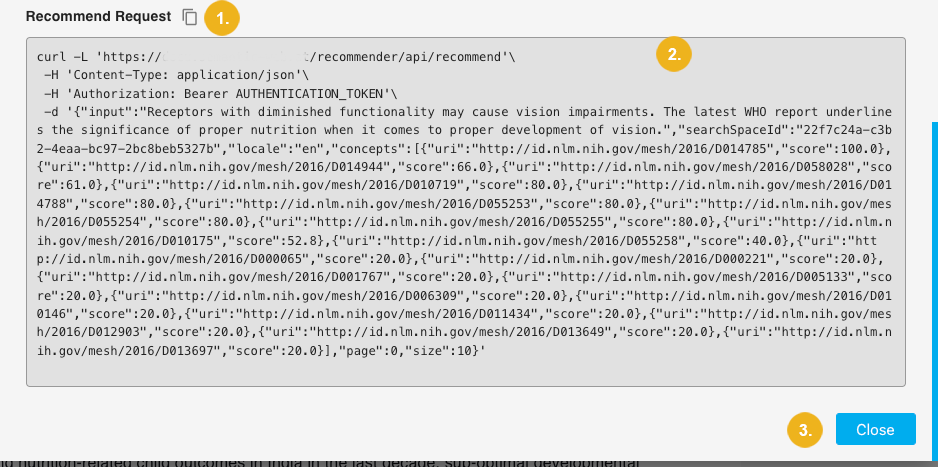
These three request are shown within one window; next to the title of the request (1) you see a "Copy to clipboard" symbol - click on it to copy the respective request part of the API call to clipboard. Underneath you see the actual respective request (2) in cURL format. To close this window either click the Close (3) button at the very bottom of this window or the "x" symbol in the top right corner.
Now after having configured the recommender and copies the individual requests we are ready to switch over to a section using these sample API calls and execute the respective calls.