Create a Custom Ontology
Create a Custom Ontology
This section contains a short guide on how to create a custom ontology.
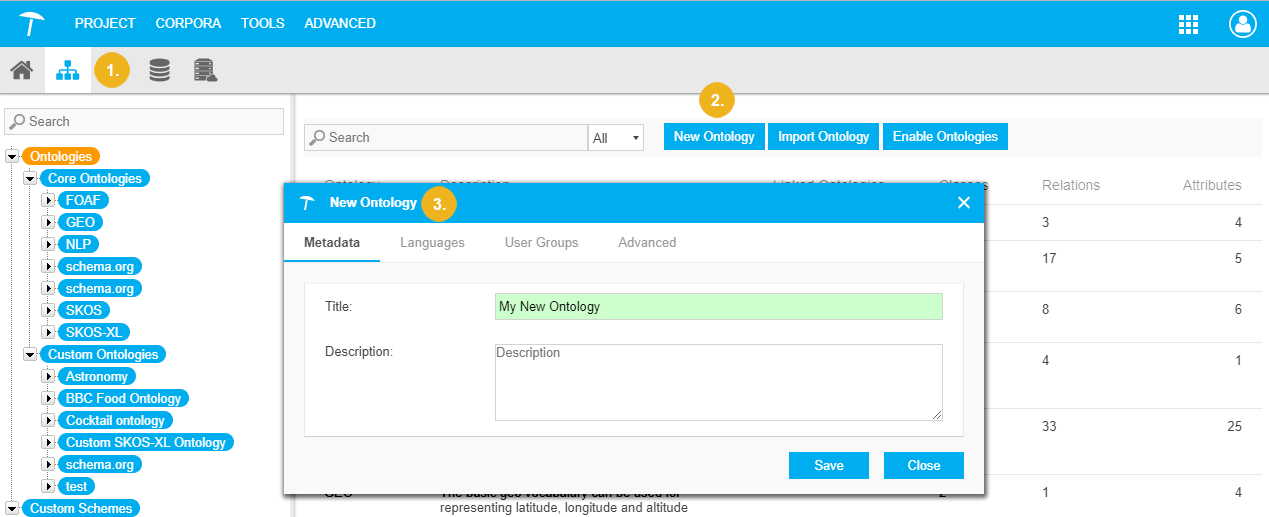
Open the Ontology Management.
Click New Ontology, or the Custom Ontologiesnode,or select New Ontology in the context menu.
In the New Ontology dialogue in the Metadata tab enter the details, the Title and an optional description for your ontology.
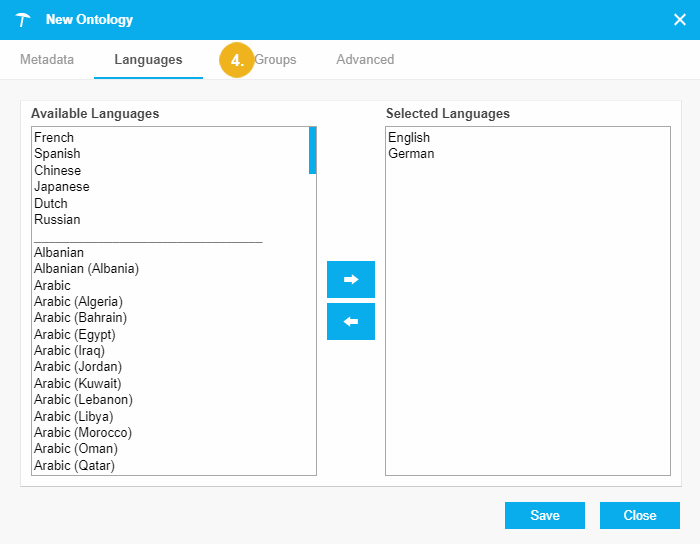
In the Languages tab, select one or more languages for the ontology (optional, default: 'No Language'). The languages you select here will be available to define labels and descriptions for classes, relations and attributes respectively.
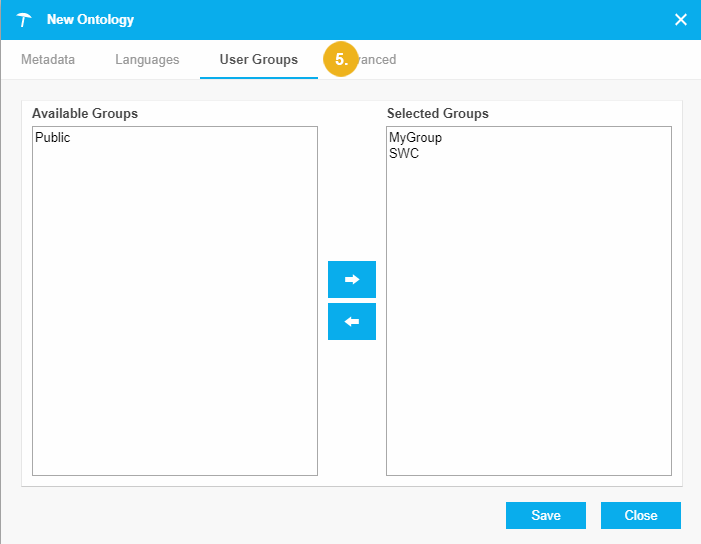
In theUser Groups tab you can select from existing user groups, to define which users should be able to access and edit the ontology.
In the Advanced tab you can define the URI pattern used for your ontology (optional). Details find in this topic: Define the URI Pattern for a Custom Ontology or Custom Scheme
Base URI: this is pre-filled with the setting defined for ontologies in the The poolparty.properties File but you can change it to a Base URI of your choice.
Ontology Identifier: this is pre-filled with the title of the ontology you chose, which will be used without spaces as part of the URI.
Resource Separator: the radio buttons for the type of separator you want to be used in the URIs based on this ontology (default: Slash).
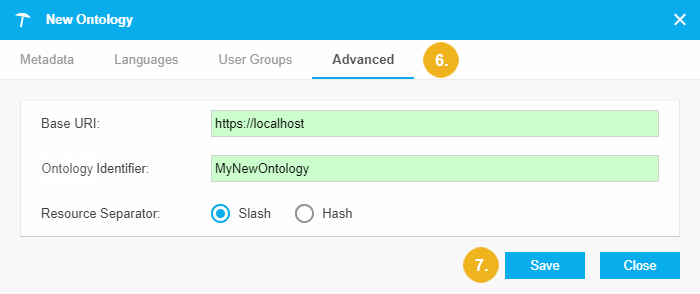
Click Save to confirm your changes.
Once the ontology has been created you can: