Upgrade PP 5.7 - 6.0 (Windows)
Upgrade PP 5.7 - 6.0 (Windows)
Introduction
To upgrade your PoolParty installation, follow the steps described below.
PoolParty's automated upgrade process for GNU/Linux hosts makes this process a breeze.
Note
In order to upgrade to a specific PoolParty release, youmust ensurethat your current PoolParty installation is at theimmediate previous release. In other words, youcannot skip any intermediate releaseswhen upgrading PoolParty.
Example: If your PoolParty installation is at version 5.4 and you want to end up at 6.0, you must perform the upgrade to 5.7 and then to 6.0.
With release 6.0 a 64-bit build of a Sun/Oracle Java 8 SE Development Kit is required to run PoolParty.
Note
These instructions assume you are upgrading a PoolParty default installation for Windows with Apache Tomcat installed at C:/Programs/Apache Software Foundation/Tomcat 7.0/ and PoolParty's data-files residing at C:\Users\Public\PoolParty\orC:\Users\poolparty\PoolParty\ .
Upgrade Process
Note
On upgrade we will replace SesameSetup.xml in the config folder. Please note a backup of the original file will be made and this will be stored in C:\Users\poolparty\PoolParty\config\oldSesameSetup\SesameSetup.xml
In order to upgrade you need to stop the PoolParty server as well as the related services of Tomcat and Solr. For details refer to this page: PoolParty's Windows Services
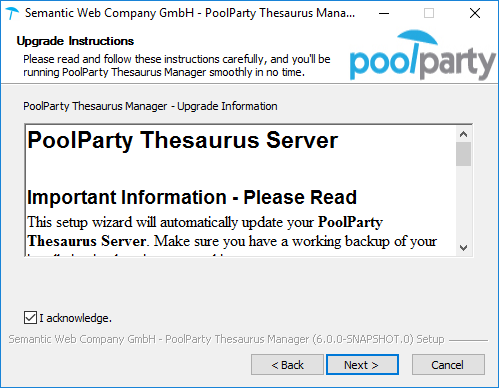
Start the PoolPartySetup.exe. A dialogue with PoolParty upgrade information is displayed. Read the information carefully and acknowledge them before you proceed.
 |
In the next step you the current location of the data directory of your existing PoolParty installation is displayed. e.g.
C:\Users\Public\PoolParty\
Check if the correct location is preselected. Click Install to proceed with the installation.
In the next step, a progress bar indicates the progress of your upgrade. Click Next to proceed with the installation.
PoolParty's integrated Solr server will be started. Click Finish to close the installer.
 |
Start the PoolParty server and the related services of Tomcat and Solr, similar to step 1 of these instructions. For details also refer to: PoolParty's Windows Services
Post-Upgrade Tasks
You have to clear your browser cache after the upgrade as changes to CSS and javascript used in the PoolParty UI have been done.
After you login into PoolParty for the first time after the update, you have to run the PoolParty migration script:
https://<your-serverurl>/PoolParty/!/migrate/upgrade
The script lists all updates that will be done. Trigger the migration by clicking Start Migration. A progress bar and an info box show the progress and status of the migration.
When the process has been finished an overview of the migration steps per project is provided.
Changes to the configuration of the PoolParty extraction model have been done. You have to recalculate all extraction models after the upgrade.
Note
You need to have the Superadministrator role assigned to be able to run those scripts.