Additonal Options on the UnifiedViews Pipeline Canvas
Additonal Options on the UnifiedViews Pipeline Canvas
This section contains a short guide on the options on the canvas, deleting DPU instances and edges, debugging, copying of DPUs and pipelines, layout formatting, alignment and validation.
The following topics in this section provide details on additional options on a pipeline canvas:
Alignment and Distribution Options — This section contains a short guide on alignment and distribution options for DPUs.
Debugging, Copying and Layout Formatting of DPUs — This section contains a short guide on how to debug, copy, and format the layout of DPUs.
Delete DPU Instances and Edges — This section contains a short guide on how to delete DPU instances and edges.
Copy a Pipeline — This section contains a short guide on how to copy a pipeline.
Validate DPU Connections in a Pipeline — This section contains a short guide on how to validate connections, input, outputs and mandatory check boxes of a DPU pipeline.
Defining Pipeline Conflicts — This section contains a short guide on how to set pipeline conflicts.
Alignment and Distribution Options
Alignment and Distribution Options
This section contains a short guide on alignment and distribution options for DPUs.
The pipeline canvas also provides buttons to zoom the canvas and cancel the last operation on the canvas. These buttons are placed in the top right-hand corner (1):
Note
Icons you can use to align multiple DPUs, are greyed out until you select two or more DPUs to align.
| Arrows are for aligning DPU instances. | ||
| Distribute icons are for creating the same gaps between selected DPU instances (for 3 or more DPU instances) in a given direction. | ||
| Use Zoom icons to enlarge or minimize the canvas. | ||
| The Undo icon lets you undo the last action you performed with any other icon. |


Debugging, Copying and Layout Formatting of DPUs
Debugging, Copying and Layout Formatting of DPUs
This section contains a short guide on how to debug, copy, and format the layout of DPUs.
The icons described here are also available in the icon bar of each DPU.
The following options are available:
| Debug to this DPU: run the pipeline in debug mode. | |
| Copy DPU: place a copy of this DPU instance on the pipeline canvas. | |
DPU layout formatting: only selected DPU instances are formatted. |


Select the first DPU instance by clicking on it.
To select more DPU instances, click the DPU layout formatting icon on the toolbar.
Click on other DPU instances, or hold the CTRL key and click on additional DPU instances.
The formatting action bar appears in the top right-hand corner.
Delete DPU Instances and Edges
Delete DPU Instances and Edges
This section contains a short guide on how to delete DPU instances and edges.
You can delete a DPU instance from a pipeline canvas, if it was placed incorrectly.
To do this, click on the DPU instance you would like to remove and select the Remove DPU icon (1).
You can delete an edge if it was not correctly set. To do this click on the edge and click the Remove the edge icon (2):

Copy a Pipeline
Copy a Pipeline
This section contains a short guide on how to copy a pipeline.
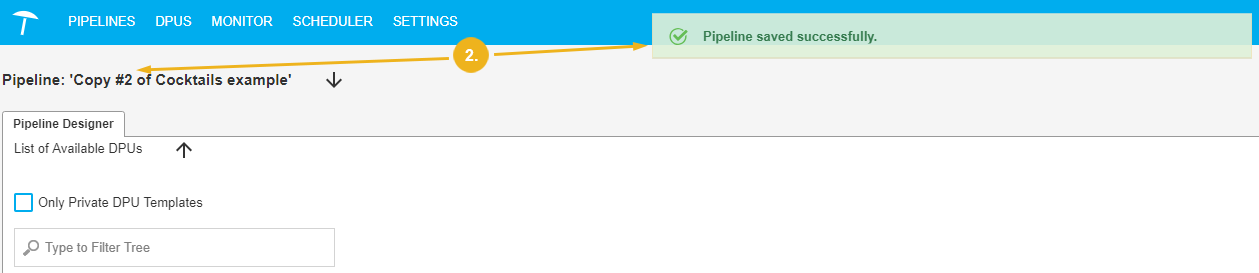
To copy the current pipeline click Copy (1).
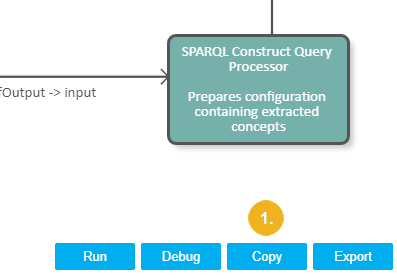
After that you will automatically work with details of a pipeline copy (2):
 |
Validate DPU Connections in a Pipeline
Validate DPU Connections in a Pipeline
This section contains a short guide on how to validate connections, input, outputs and mandatory check boxes of a DPU pipeline.
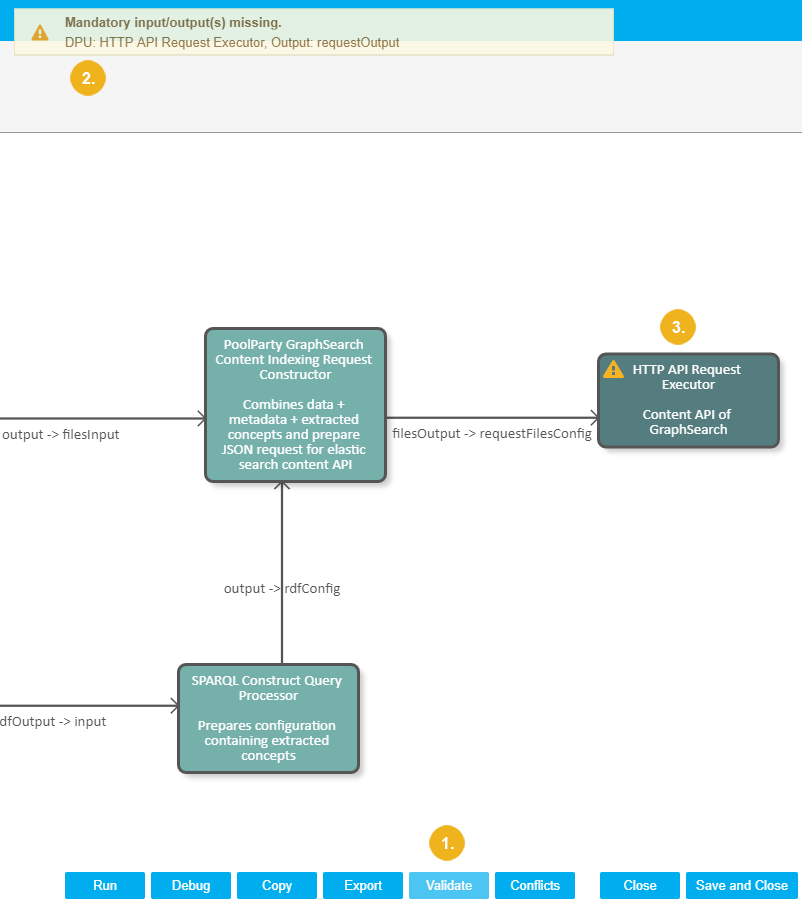
Follow these steps to validate DPU connections in the pipeline, control all mandatory inputs/outputs and mandatory check boxes in the DPU configurations:
Click Validate at the bottom of the pipeline canvas.
A validation message will be shown.
In addition, the respective DPU will display a Warning icon to depict the place of issue.
 |
Defining Pipeline Conflicts
Defining Pipeline Conflicts
This section contains a short guide on how to set pipeline conflicts.
This function is useful to include or exclude concurrent editing or executing pipelines by multiple users that are active in the system.
For each pipeline you can specify a list of conflicting pipelines, including the current pipeline itself.
A user is editing pipeline A and defines pipelines B and C in the conflict list.
In that case if the user wants to start pipeline A, it will wait (in running state) till the end of the executions of the pipelines B and C. Only then it will be executed.
If a user sets pipeline A to conflict with pipeline A it means that only one instance of the pipeline A is able to run at one given moment.
In case of several instances being launched at the same time, they will be executed one after another.
Click Conflicts at the bottom of the canvas.
The Pipeline Conflicts dialogue opens.
In the column All Pipelines select one or more pipelines you want to define conflicts with the current one for. Multi-select is possible.
Use the arrows to add or remove the selected pipelines to or from the column on the right: Pipelines conflicting with the current pipeline
In the column on the right the pipelines you selected, will be listed.
Click OK to confirm your changes.
Click Cancel to abort.
Click Clear Conflicts to remove all pipelines from the column on the right.